CONNECTING YOUR INVERTER TO WIFI
A secure connection to the internet is essential for getting the most out of your OFFGRID NOW® power cabinet.
DEYE Inverter WIFI Connection Tutorial
This 10 minute tutorial will guide you through the process of connecting your OFFGRID NOW® power cabinets DEYE inverter to WIFI. There is also a step-by-step instruction guide below.
If you require further assistance please lodge a support ticket at: www.offgridnow.com.au/support
HOW TO CONNECT YOUR DEYE INVERTER TO WIFI (Step-by-Step Instructions)
Your OFFGRID NOW® power cabinet should be connected to the internet to monitor the system’s performance. If the system is not connected to the internet, there is no historical log of how the system is performing, and this can make trouble-shooting difficult. If you are wanting to monitor your system from a computer or smart device, you will need to ensure there is an adequate internet connection.
Step-by-Step Instructions:
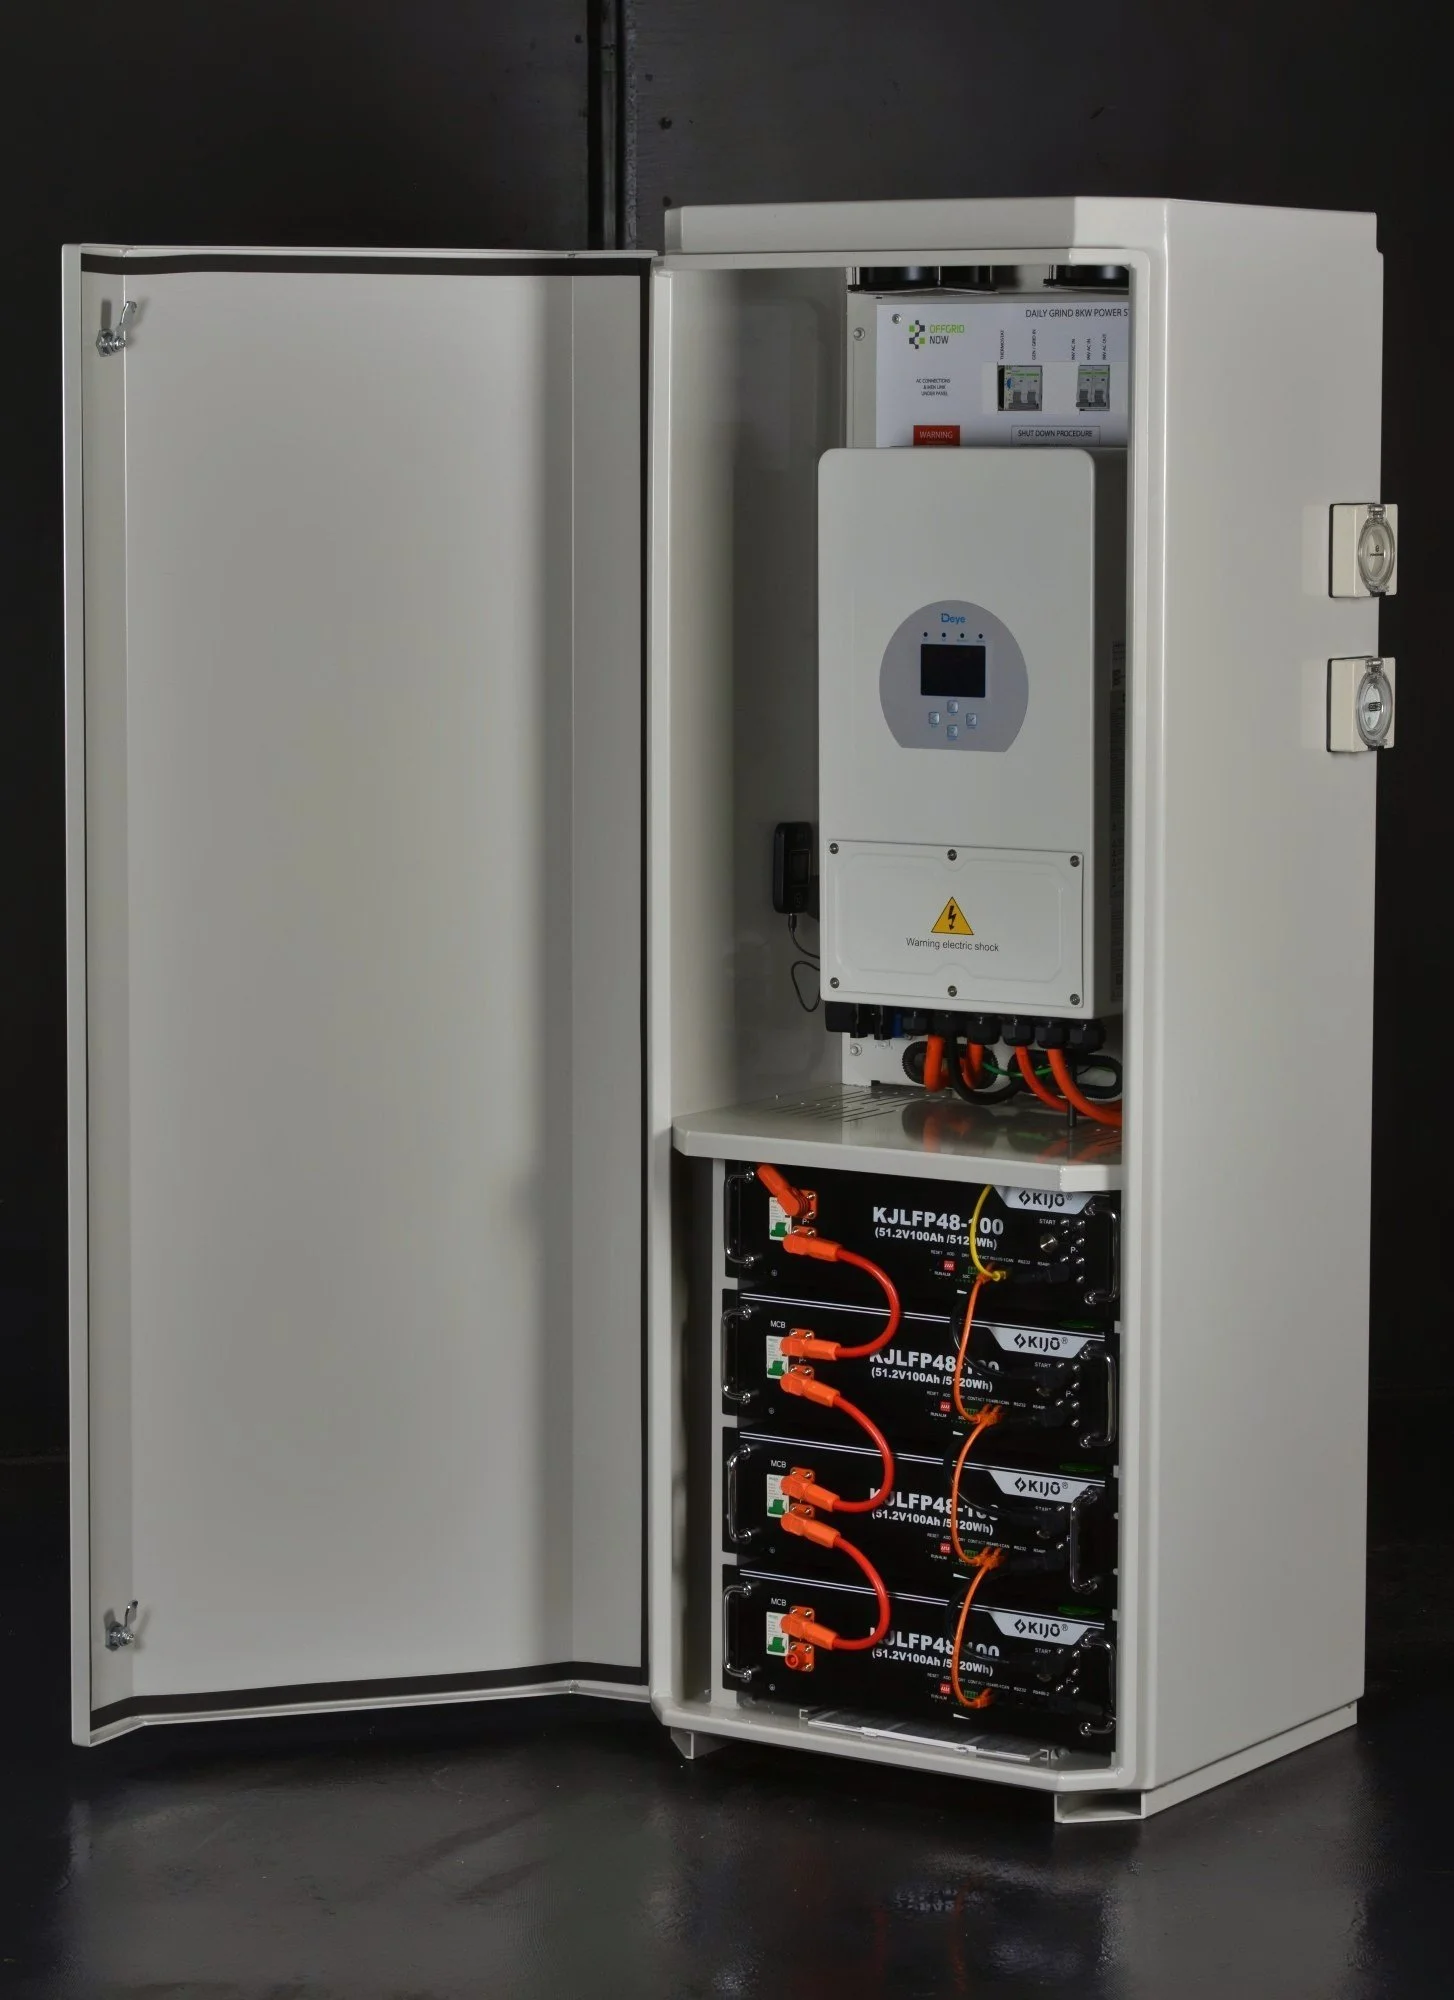
1. SYSTEM COMPONENTS
The system components that enable your OFFGRID NOW® power cabinet to connect to the internet are the DEYE Inverter, the 4G WIFI Dongle (or other connection type) and the USB Data Logger.
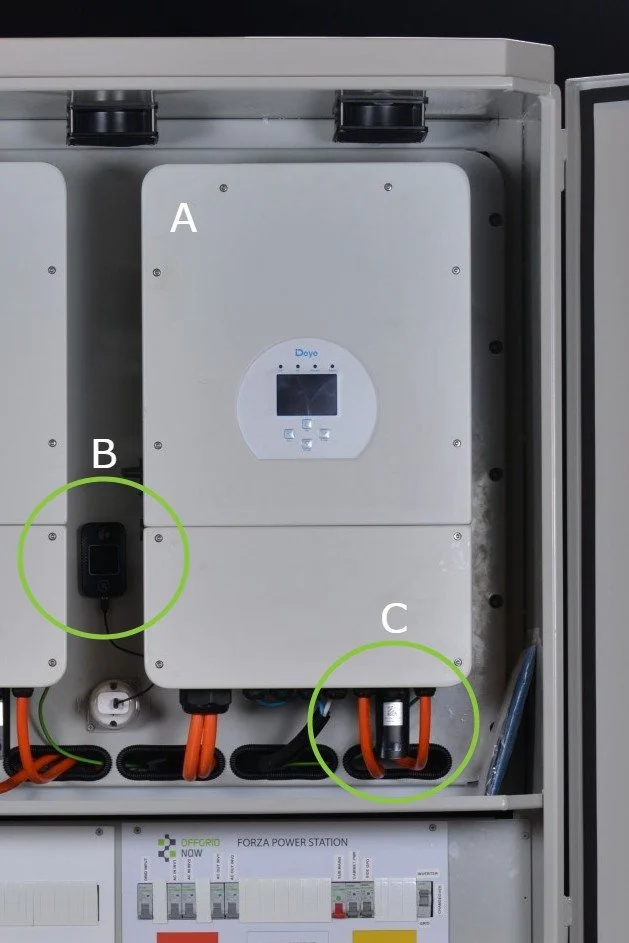
A. DEYE Inverter
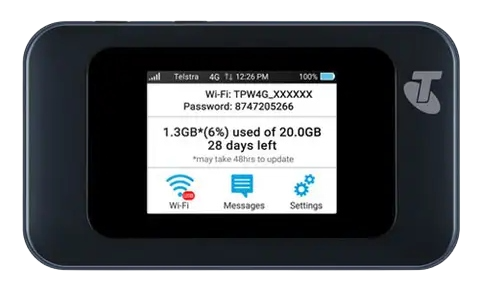
B. 4G WIFI Dongle
The 4G WIFI Dongle is supplied as standard with all OFFGRID NOW® power cabinets and enables connection to the internet via the mobile phone data network. This is not required to connect to the internet if you supply an alternative WIFI connection.
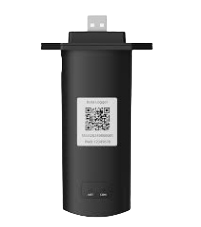
C. USB Data Logger
The USB Data Logger is supplied as standard with all OFFGRID NOW® power cabinets. The Data Logger is generally installed beneath the lower right hand corner of the inverter, but may be installed inside the cabinet with Velcro to the inner wall.
2. CONNECTIVITY OPTIONS
OFFGRID NOW® power cabinets require a connection to the internet in order to provide remote monitoring and support for your system. Here, we outline several connectivity options for your to choose from.
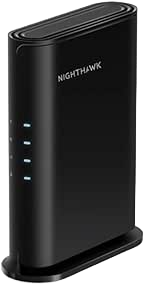
1) Existing Wireless Connection
Your OFFGRID NOW® power cabinet can connect to an existing wireless internet connection if the signal strength is strong enough. If the signal strength from the wireless router is too weak, you will need to arrange for the installation of a range extender (see below).
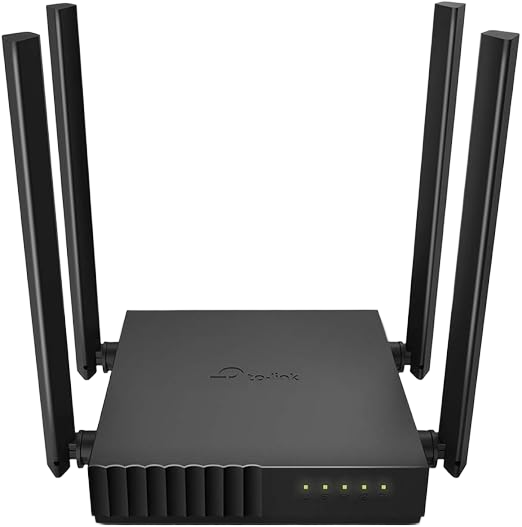
2) Range Extender (for existing Wireless Connection)
If the signal strength from your existing wireless router is too weak, you will need to install a range extender. Sometimes this is difficult to determine prior to the your installation date. If we determine that the signal strength is too weak on the day of installation, we can supply and fit a range extender whilst we are installing your system.
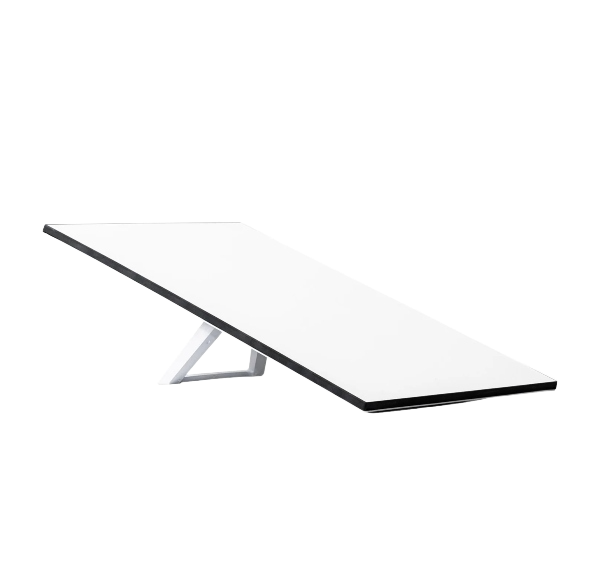
3) Starlink Residential Internet Package
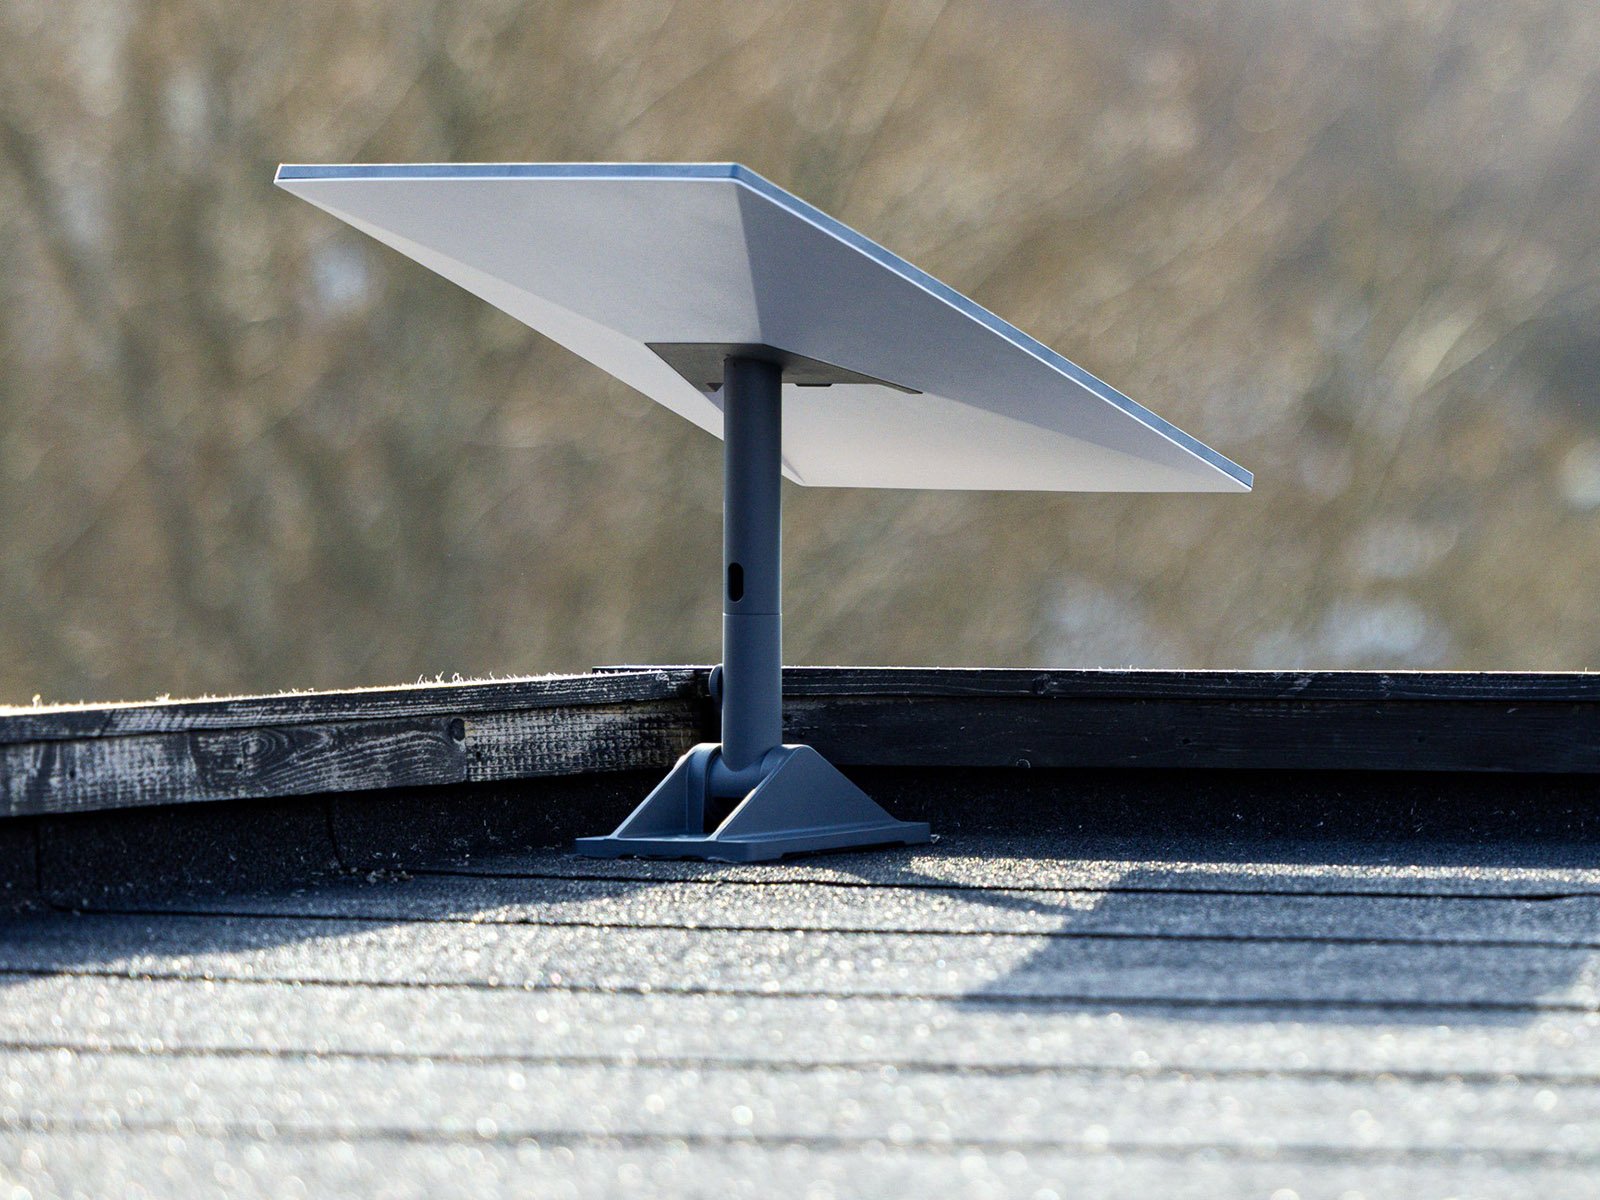
If you do not have an existing wireless internet connection, OFFGRID NOW® offers the supply and installation of a Starlink Residential package. This needs to be pre-arranged with OFFGRID NOW® in advance of your installation date. This package is particularly useful if you are in an area with poor mobile phone coverage, or if you wish to use the Starlink connection for personal home internet and mobile phone connectivity.
4) 4G Wireless Modem
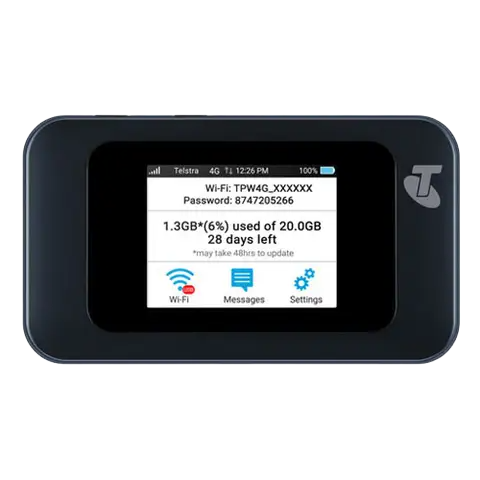
In the absence of a wireless internet connection, all OFFGRID NOW® power cabinets may be supplied with a 4G wireless modem with a preloaded sim card and 12 months of data. The sim card will need to be recharged annually for a fee payable to OFFGRID NOW®. This option is only possible in regions with 4G connectivity and at least 3 bars of signal. If the signal strength is not available, you will need to arrange for the installation of a 4G wireless modem antennae upgrade (see below).
5) 4G Wireless Modem Antennae Upgrade
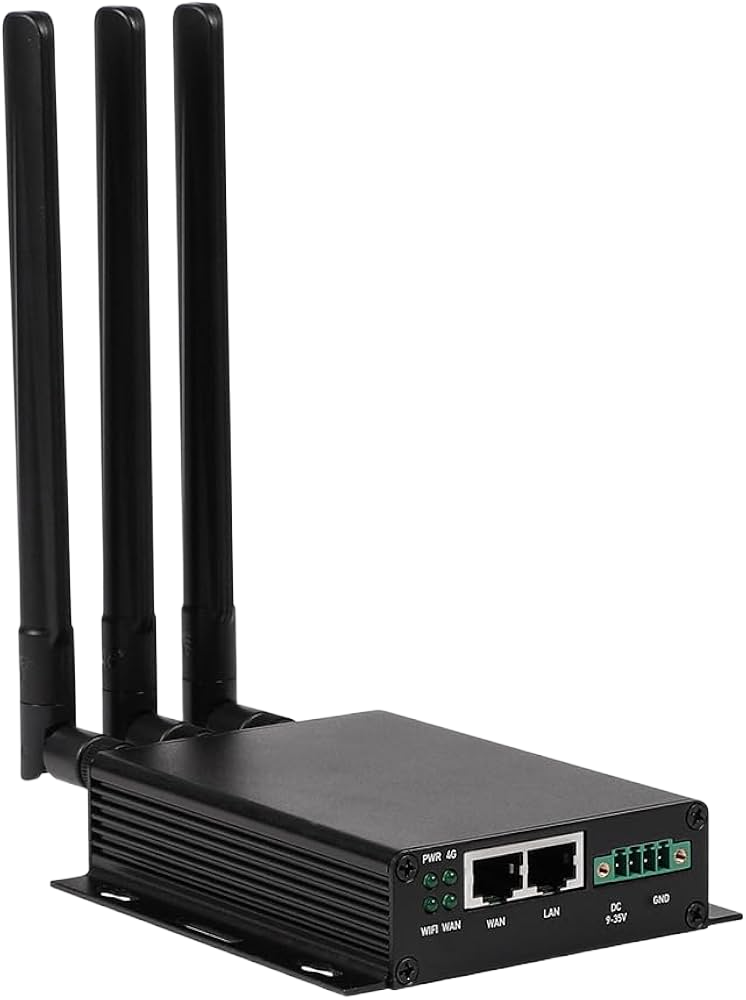
If the 4G signal strength in your region is poor (2 bars or less), and you do not have an existing wireless internet connection, we will need to install a 4G modem with an antennae upgrade. Sometimes this is difficult to determine prior to the your installation date. If we determine that the signal strength is too weak on the day of installation, we can supply and fit an upgraded antennae whilst we are installing your system. This 4G wireless modem with antennae upgrade will be supplied with a preloaded sim card and 12 months of data. The sim card will need to be recharged annually for a fee payable to OFFGRID NOW®.
*In the rare case that a 4G solution is not available, Starlink may be your only option.
3. BEFORE YOU START
There are a few steps to take before you start the connection process to make sure everything goes smoothly.

1. Download the DEYE Cloud App
You can download the DEYE Cloud App for free from the Google Play and Apple App stores. Your login details will be included in the handover pack received when your power cabinet was installed.
2. Write down your WIFI and USB Data Logger passwords
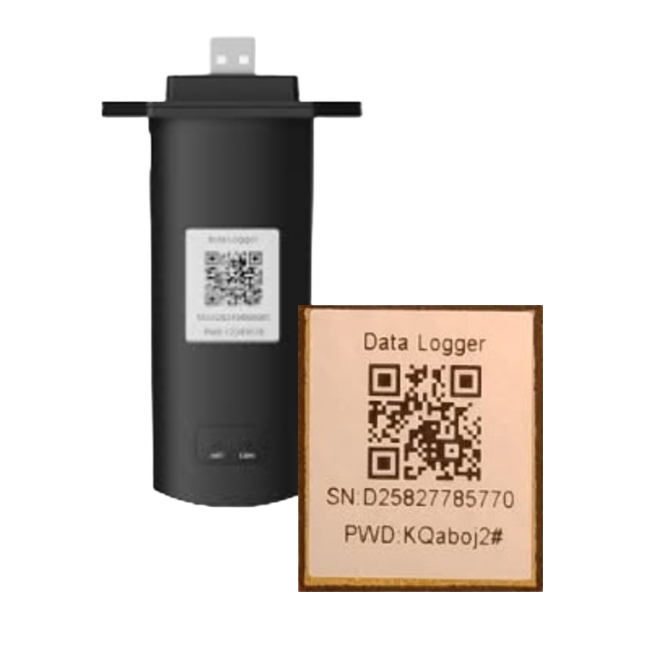
You will be asked to supply your WIFI password and USB Data Logger password during the connection process. If you do not know your WIFI password, it may be printed on a sticker on the base or back of your modem/router. The password and serial number for the USB data logger will be supplied in the Handover Pack when your system was installed. If you need to relocate the password and serial number, these may be found on the sticker attached to the body of the USB data logger.
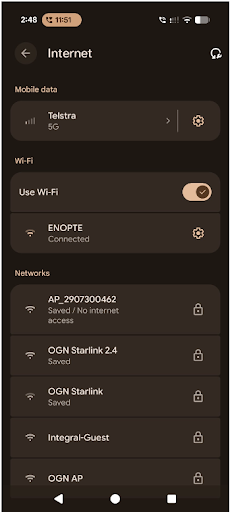
3. Make sure your WIFI is set to 2.4GHz
Many modern appliances that connect to WIFI (including your DEYE Inverter) require a 2.4GHz WIFI network connection. Most newer versions of routers, including Starlink routers come standard with a 5GHz WIFI network. The DEYE Inverter will not connect to a 5GHz network, and the router will need to have the network split into a 5GHz network and a 2.4GHz network. Once the connection is split, you will need to connect to the 2.4GHz network during the connection process. You can still connect to the 5GHz network with your other devices.
Click here for instructions to split the Starlink network. For all other routers consult your User Manual.
4. THE CONNECTION PROCESS
Here are the step-by-step instructions for connecting your OFFGRID NOW® power cabinet to WIFI.
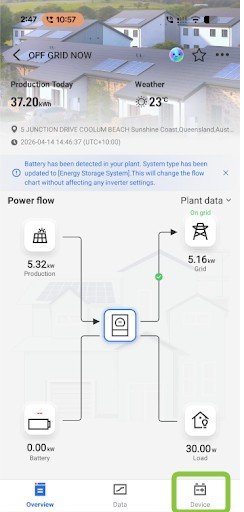
1. Log into the DEYE Cloud App.
On the bottom of the home screen, you will see 3 menu options. Select the menu option on the far right, “Device” as marked by the green marker in the image.
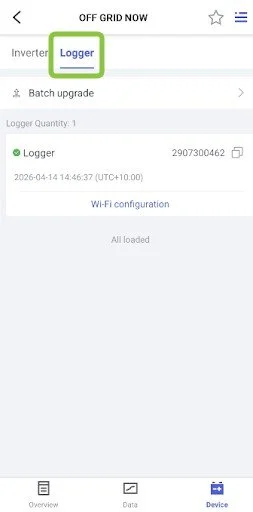
2. Select “Logger”.
On the “Device” screen you should see 2 tabs: “Inverter” and “Logger”. Select the tab, “Logger” as marked by the green marker in the image.
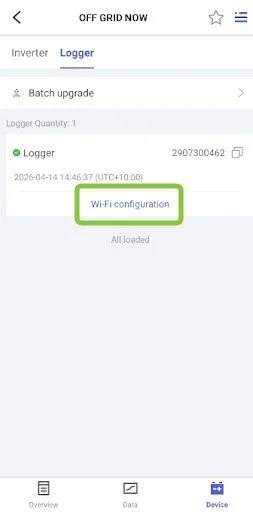
3. Select “Wi-Fi Configuration”.
On the “Logger” screen, look for the “Wi-Fi configuration” link in blue. Select the link, “Wi-Fi configuration” as marked by the green marker in the image.
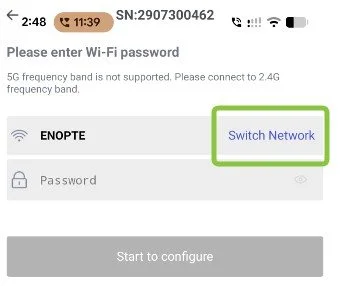
4. Select “Switch Network”.
On the next screen, you should see an existing network displayed as “ENOPTE” or “OGN”. This is our network that we connected your system to for set-up and testing. To connect the system to your local WIFI, select the blue link labelled “Switch Network” as marked by the green marker in the image.
5. Select your local WIFI Network.
It’s time to choose your WIFI connection. Choose the appropriate network from the list. If you have a WIFI connection that is split into 2.4 and 5GHz networks, be sure to connect to the 2.4GHz network.
Once you have selected your network, press back to return to the configuration screen.
If you have not done so already, you may need to split your WIFI connection into 2.4 and 5GHz networks. Click here for instructions to split Starlink networks. For all other routers consult your User Manual.
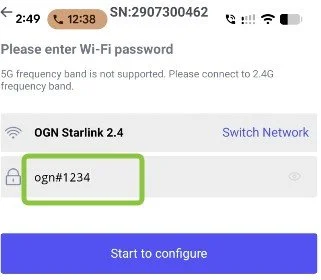
7. Enter password and press “Start to configure”.
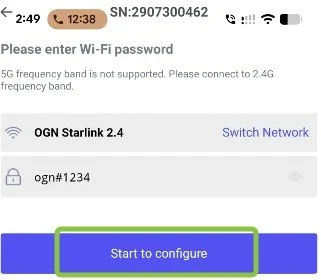
Upon returning to the configuration screen you can enter you local WIFI password. To start the configuration process, select the blue button labelled “Start to configure” as marked by the green marker in the image.
8. The “Wi-Fi Network Testing” screen.
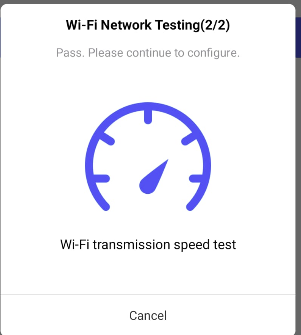
The WIFI network test will now commence, checking the network and testing the transmission speed. Do not interrupt this process - you are almost done!
9. Locating the USB Data Logger.
After the WIFI network testing is complete it’s necessary to pair your phone with the USB Data Logger. The USB Data Logger is directly under the inverter as marked by the green marker “C” in the image (or attached with Velcro to the inside of your cabinet). I you do not have the password and serial number at this stage, you can locate it on a sticker on the body of the USB Data Logger itself.
10. Pairing the USB Data Logger with your phone.
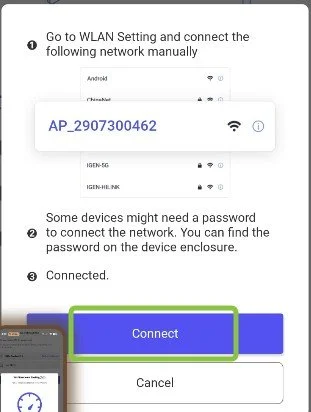
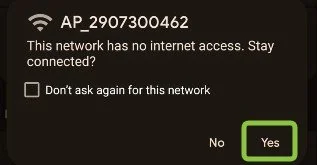
Select the USB Data Logger from the list. It’s easiest to look for the device in the list that matches the last 3 numbers of the Serial Number that you have written down. Once you have selected the USB Data Logger, enter the password and select the blue button labelled “Connect” as marked by the green marker in the image. Select “Yes” to the following screen regarding the device having no internet access as marked by the green marker in the second image.
11. Final Device Configuration
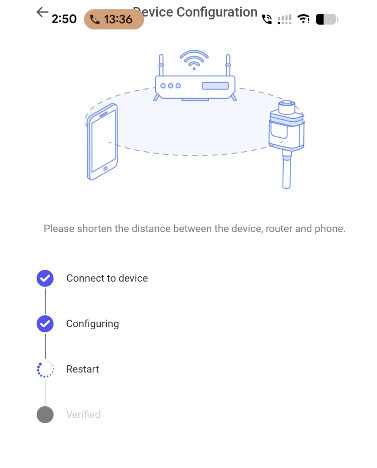
The “Device Configuration” screen will appear and test the connection between your phone, the inverter and the data logger.
12. Configuration Successful
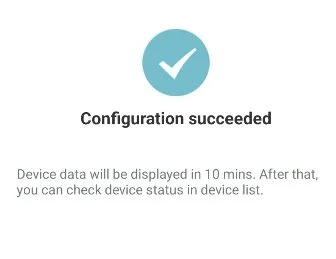
The “Configuration succeeded” screen will appear confirming a successful connection of the USB Data Logger.

HAVING TROUBLE CONNECTING?
Lodge a Support Ticket and a member of our Customer Care Team will be in contact to help ASAP.
https://www.offgridnow.com.au/support